Vintage themed text layouts for events work because they tap into familiar visual cues. People recognize distressed edges, rounded letterforms, and muted color palettes instantly. That recognition builds trust before anyone even reads the venue details or ticket link. If you are designing an invitation, poster, or digital banner, a retro approach gives the piece a grounded, memorable feel without relying on loud photography or heavy graphics.
What exactly counts as a vintage themed text layout?
It is not just about picking an old-looking typeface. A proper layout balances hierarchy, spacing, and texture to match a specific decade. Think of a 1920s speakeasy flyer using tight tracking and geometric sans serifs, or a 1970s concert poster with slightly curved baselines and warm earth tones. The structure guides the eye from the main headline down to the date, location, and RSVP instructions. You will usually see intentional imperfections, like paper grain overlays, soft ink bleed, or slightly uneven letter spacing. These elements replace flat modern rules with tactile ones.
When should you actually use this style for your next gathering?
You would reach for retro typography event design when the atmosphere matters more than pure utility. Jazz nights, heritage brand launches, classic car meets, antique market pop-ups, and decade-themed birthday parties all benefit from an old-school text arrangement. Corporate training sessions or tech product drops usually do not. If your guests expect a specific era, the lettering should reflect it. You are sharing information, but you are also setting the mood. For deeper context, you can review how mid-century design principles shape modern event posters.
How do you arrange heritage style lettering without it looking cluttered?
Start by picking a single focal point. Choose one era and stick to it. Mixing 1890s Victorian woodtype with 1980s neon script usually creates visual noise. Use a clear size hierarchy. Your headline should sit at roughly two to three times the size of your logistical details. Leave plenty of breathing room around the margins. Vintage layouts often favor center alignment, but readability still matters. Switch to left alignment if your paragraph runs longer than three lines. Pairing two contrasting typefaces usually works best. Combine a heavy display face for the title with a clean, highly legible serif for the small print. You can review tested pairings that skip the trial-and-error phase at this resource on proven retro type matches.
What usually breaks the vintage illusion in event design?
Overusing digital filters is the fastest way to ruin the look. Dropping a sepia gradient over crisp modern Helvetica does not make it nostalgic. Poor contrast is another frequent issue. Faded ink looks authentic on paper, but on a smartphone it becomes unreadable. Always check your color values before exporting. Too many decorative dividers also compete with the actual words. You only need one or two accents, like a thin double line, a subtle drop shadow, or a light halftone pattern. Let the typefaces handle the personality. If you want to keep your margins and columns tight, this breakdown of spacing rules and era-specific grids covers the most common alignment mistakes.
How do you handle printing and digital formats correctly?
Screens and physical stock process vintage typography differently. For printed invitations or wall posters, work in vector format and embed all fonts before handing the file to a press. Request matte or uncoated paper. Textured stock naturally enhances the aged look without requiring extra digital noise. For digital distribution, stick to properly licensed web fonts and export assets at high resolution. Verify rendering on both iOS and Android. Some older serif glyphs lose their curves on low-DPI displays. Scale your headline slightly larger for mobile, since thin strokes and small caps disappear quickly. If you need a reliable starting point for screen layouts, a bold display face like Abril Fatface retains its character well when converted to SVG.
Before you finalize or send your design to press, run through this quick checklist:
- Verify the typeface belongs to one consistent decade rather than blending multiple eras.
- Run a contrast check with a free accessibility tool to guarantee screen readability.
- Print a single test page on uncoated stock to see how ink weight and texture interact.
- Reduce decorative borders by twenty percent and confirm the headline remains the dominant element.
- Scan all line breaks to ensure dates, venue names, and links never split awkwardly across rows.
Open your working file, adjust a single line-height value, and preview the piece at actual size. Fix the smallest spacing glitch first, then review the full composition. That small correction usually locks in the authentic vintage feel you aimed for from the start.
Get Started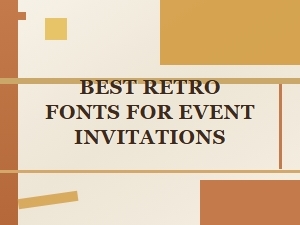 Best Retro Fonts for Event Invitations
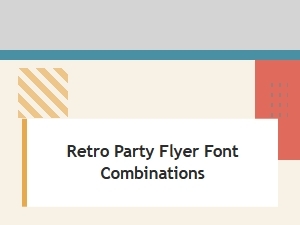 Retro Party Flyer Font Combinations
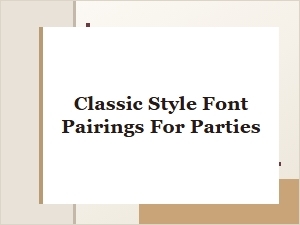 Classic Style Font Pairings for Parties
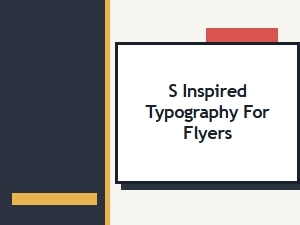 Retro Inspired Typography for Party Flyers
 Elegant Timeless Typography for Formal Announcements
 How to Choose Fonts for Conference Event Posters